Hello Debdoozlers! Today's fixer-upper is like no other. An innocent Fisher Price musical chair fell victim to my kids' wrath, but luckily I stepped in to save the day! I can't remember if the chair was gifted to Z1 or Z2, the point is one of them was very little when they got it which makes it old, but still in perfect working condition for Z3. Well, it was in perfect condition until the fateful day that met this chair.
My kids, not sure which one of them did it because ironically no one broke it, stepped ( or maybe body slammed it? ) on the seat until it cracked. Before I could think of how to fix the crack they had completely broken a piece out of it leaving the electrical exposed.

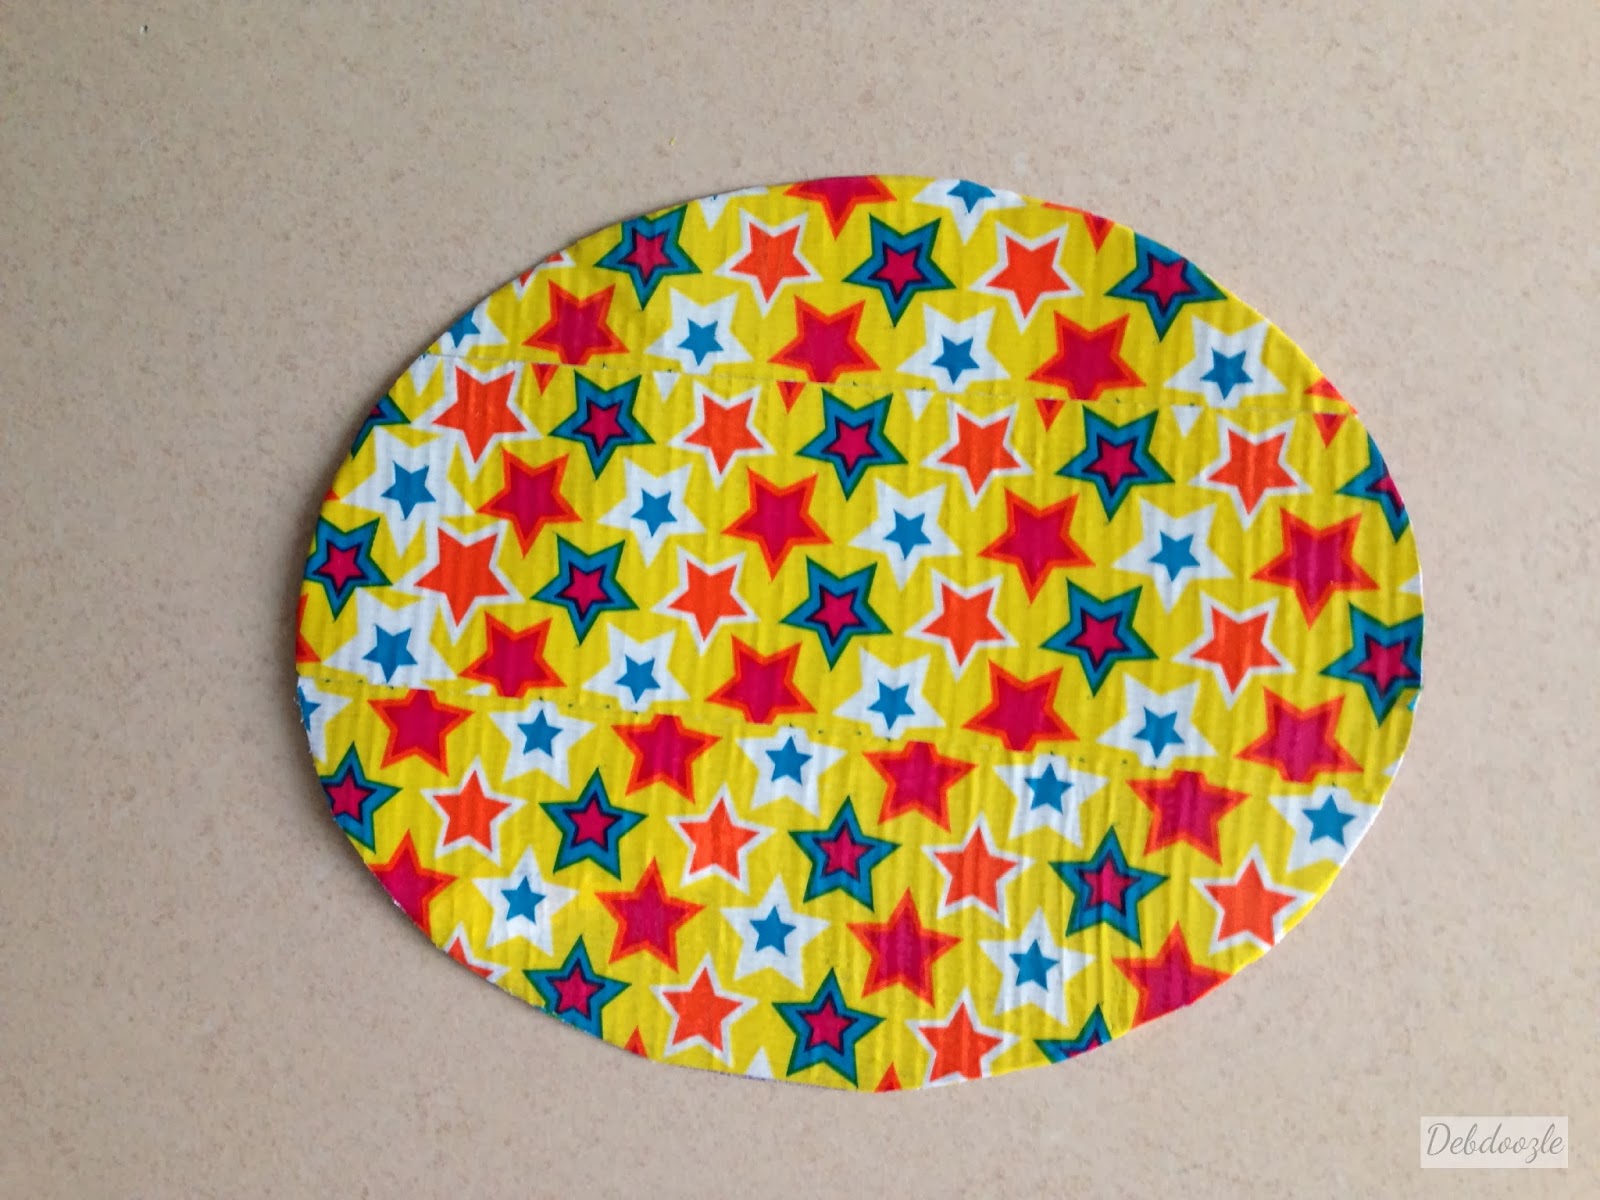
How about a close-up for dramatization?

I'm sure anyone's first thought would be: toss it! But I couldn't bring myself to do it. Never mind the sharp edged seat waiting to thrash a soft tush-y, it was still a perfectly functioning chair with songs, animal sounds, and a flashing table lamp! So cute!
After coming to the conclusion that the plastic seat itself couldn't be salvaged, I figured I could cover it. What better material than cardboard? I pulled out my cake mix box from the recycle. It was thick enough to cover the cracks and hole and support a small bum, but not too thick that it wouldn't be flush with the rest of the seat.

As cute and exciting as it may be to decorate the chair with a muffin recipe, in Arabic none-the-less, I needed something more theme appropriate. I used my Scotch 3M multi colored star pattern duck/duct tape. I originally got it from Home Depot on my last trip to the States, but for the UAE folks you can find a similar selection at ACE Hardware for (brace yourselves) 3 x's the price! Just kidding, it's only double the price. ;-)

I then used the duck tape to cover only the surface of the cardboard cut-out. No need to wrap it since only one side would be showing. I cut off the excess tape.

Tada! I was left with this beauty of a star shaped egg,
I mean an egg shaped star. I think you get the idea.
On the plastic seat, I spread an even layer of hot glue making sure I got close to the edges so the cardboard wouldn't peel back and stuck the cut-out firmly onto the old seat. I pressed and smooth until the new cover was secured.

Voila! It's like NEW!


What do you think? Doesn't it look perfect, as if it was the original chair? I'm sure some parents think it's not safe, but let me tell you something after having three kids...

…nothing is safe for kids. The pics above are not even the half of it. Without parental supervision everything is a danger and everything will break. Like my vase in the upper left, and my chair leg on the right and the list goes on.

So far the chair works just as it used to and looks better than ever. Z3 is in love with it as if it's brand new. As a matter of fact he thanks me 10 times a day for fixing it lol. His exact words: "I'm so happy for the fixing chair!"
The lesson behind today's post-- before you toss something out really ask yourself: can it be fixed? Not sure if something could be fixed? Send me a pic of your item and I'll help you out or leave a comment below with your question. Where there's a will there's a way! Now go revamp something and be proud! Thanks again for stopping by.
-Debora

I like it better with the new starry seat cover! :-) Lucky kid, your Z3, to have such a crafty mom.
ReplyDelete