Hello world! May your hearts be filled with ease and comfort and if not, I ask the Greatest to send you ease and comfort! Just remember that with every struggle comes ease. ;o)
Today's DIY is (sort of) brought to yo by my oldest, Z1 and his teacher, who actually you tubed this project. Ha! So in the end I guess no one can take credit for this, but I HAVE TO share it with you. It's soooooo cute. I love winter, especially since I can't have it out here in Dubai-land. I also love snowflakes and think they are great projects. Some times they can be overwhelming and messy especially for little ones, but this project, however, is the easiest and most fun snowflake project I've ever done!


Today's DIY is (sort of) brought to yo by my oldest, Z1 and his teacher, who actually you tubed this project. Ha! So in the end I guess no one can take credit for this, but I HAVE TO share it with you. It's soooooo cute. I love winter, especially since I can't have it out here in Dubai-land. I also love snowflakes and think they are great projects. Some times they can be overwhelming and messy especially for little ones, but this project, however, is the easiest and most fun snowflake project I've ever done!

What you'll need:
6 sheets of paper
scissors
tape
stapler

There are two ways you can approach this:
First: if you don't want your child to cut at all then have 6 sheets of paper pre-cute into 8 1/2 x 8 1/2 squares.
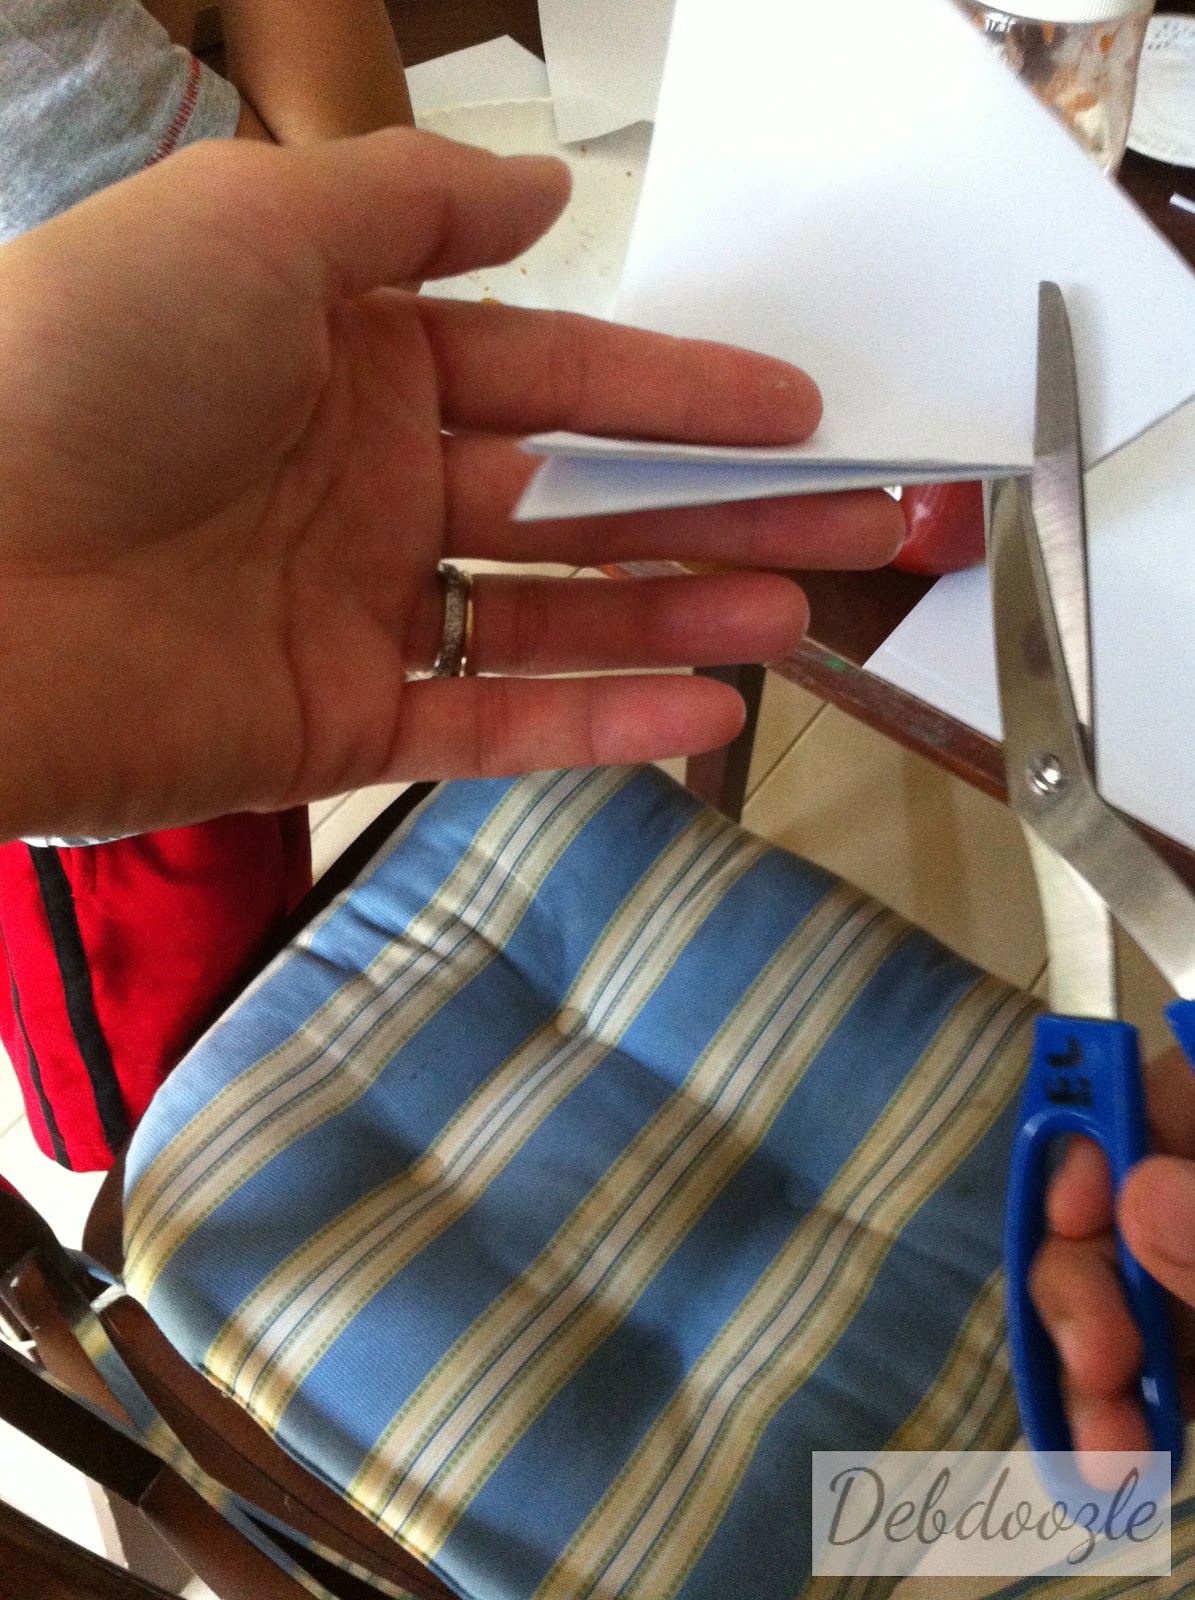
Second: if you don't mind your child cutting you can just have them start folding the the paper into triangles and then cut off the excess like my son did below.

Bring the top right corner down to the left bottom
corner to create your first triangular fold.

Repeat step from top left corner down to the
bottom right.

Cut off excess paper. Now here comes the tricky part...

Make sure to hold the folded paper so the crease is at the top...
...the two folded creases are at the bottom and...

...the open ended should be to the left.
If you are left handed then the open ended part should be to the right.
(I hope that works if not, sorry left handed peeps)

Make sure you cut from the bottom up towards the crease, parallel to the open leaf side
BUT don't cut all the way through!!! Leave a small space.

Now, only cut FOUR/ 4 slits...

...you will be left with five/5 strips

If you cut correctly, your square should look something like
the above picture. I already taped one set of triangles so don't get confused by the picture.
If you cut from the non-creased open leaf side, your
square will look like this...

WRONG!! ABORT MISSION! ABORT MISSION!
Back to the regularly scheduled program.

Now starting from the middle, take one triangle cut-out from the left and right and tape them together.
Flip the paper upside down and grab another triangle cut-out and tape
those together.

Should look like above pic. Flip the paper again and grab a third
triangle cut-out and tape those together.

After three times your paper should start to look like the above picture.

Repeat 2 more times...

You should end up with the this. Front view.

Side view

Repeat the above steps on 5 more sheets. When you are done start
stapling together at the tips and somewhere near middle of each paper so
the flake doesn't fold over itself.
Sorry for the fuzzy pic, tired kid and missing sock lol. We did this right after school.
What were we thinking? Apparently snowflakes. ;o) Doesn't it look great though?
This was a fun project and I'm so glad my son taught me how to do it. It's a nice way to appreciate
winter since we don't have that concept out here. Hope you all enjoyed this winter activity! Thanks for stopping by!
-Debora
No comments:
Post a Comment