I hope you all had a great weekend! I got to finally finish a project I am thrilled with. Even though I see some imperfections, I can still call it my own and one of a kind. Isn't that what home decor is all about? Something special and unique to you and your family? That's what I would like to think ;o) here is the inspiration for the project.
What a beauty isn't she! I'd like to think something that beautiful would be a 'she' and not a 'he' although I have seen some very beautiful 'he's' like my hubby! Focus! So like I was saying, it's a 'beaut', but for 3,301.51 dirhams! (price in dirhams sounds way more dramatic) which is $899.00 buck-a-roos, I was willing to take on the project my self! Let's see some 'before' and 'afters', shall we?
Before...
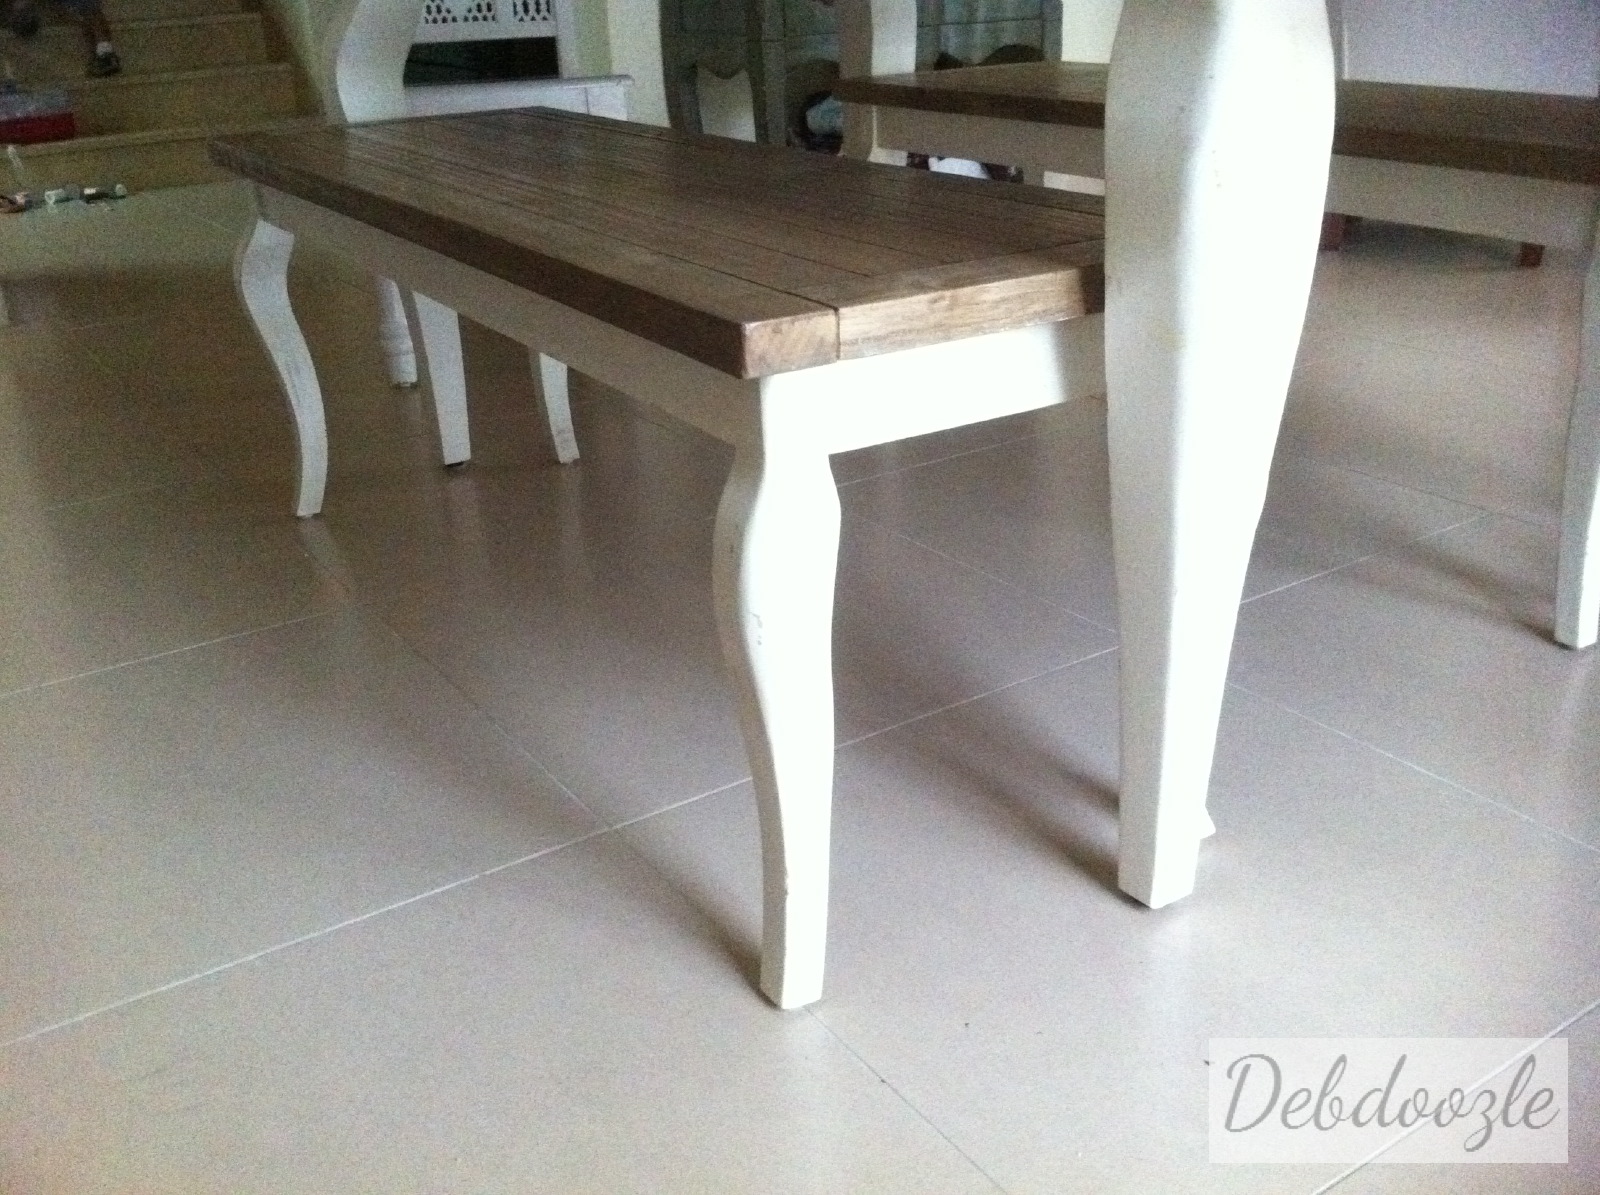
AFTER!
Not bad, right? Obviously it's not worth $899, but it is worth my blood sweat and tears. In total it only took me about 2 hours to spray paint and 4 hours to hand paint it, but the reality is that I didn't have a 6 hour block to myself and the time was spread over two or three weeks. Here is the list of supplies and how it went down...
Supplies: ACE brand primer in grey,
Krylon, ORB (Oil Rubbed Bronze)
Delta craft paint in White
FolkArt craft paint in Linen
Krylon can gun
Not shown: medium grit sanding block
For the record, for my UAE readers, I do NOT recommend ACE brand Spray paints, however it is my only option out here thus far. The white primer doesn't cover well, but I was lucky to find Krylon in gray which worked for this project, but I am dying to try Zinsser. I have read time and time again that pretty much any Zinsser primer product is the best in the West. Literally, since I'm in the East and the closest thing we have to Zinsser is Zat. Zat is the way people out here with heavy accents say "that". HA! I couldn't help myself with zat that one. Ba rum rum, pisht! Seriously though, no disrespect to people who speak more than one language. It's actually admirable to learn a second language especially as an adult. Moving on! Don't use ACE if you have other options.
Whenever I spray paint a table I always like to spray the legs first and then the top. That's just what works for me. If I can, I will elevate the table like I did
here by placing it on another table so I don't have to break my back bending down to spray the legs. For this one, I was on a time crunch and couldn't pull out my folding table.
I almost gave up on this table because I actually prepped and sanded it months ago, but just didn't know what to do with it. Then my kids knocked it over a trillion times and it was dented all over! See those bright spots around the edges? They were all cracked. Thank God I was able to sand it a bit more and it was just like new.
Table originally from K to the Mart. I think it was around $50-60
about ten years ago. ;oO
Before. I sanded it and wiped it clean of any debris.
I flipped it upside down and gave it almost two full coats of primer. I think the above pic was before I finished priming; I see a little brown peeking through. But I made sure it was all covered in primer before I finally painted it with the ORB.
I flipped it back right side up and also gave it two full coats of primer.
I only sanded the top after priming because it was a little grainy. That tends to happen when I spray at an angel instead of straight at it. The legs were smooth as butta!
I hand painted the legs free hand and randomly. Then I started the top. Also free hand and random. I wanted to use Antique White from Appel Barrel, but I only had a small amount left from what I brought with me from LA. I could have maybe found it here, but the only craft store I know is in the Beach Center in Jumeirah Beach. That would have been a 30-40 minute-not-worth-the-drive-adventure. Yes, I hyphenated all of the. What-are-you-gonna-do-about-it? :o) So I used my White and Linen and mixed at a ratio of 1:1 it turned out great. And I think I only used about 2 1/2 teaspoons of paint on the whole table. That paint goes a long way!
I let my older son help out. He is always motivated to paint
when he sees me working.
And the after party!
The top still feels a little naked to me, but I'm just going to absorb it first and then see
if I want to add anything else.
Overall, I am very happy with it considering a couple things: 1. I thought this table wasn't worth it and should have been dumped after what my kids did to it. Thank GOD I didn't, because I was able to fix it and it's beautiful now! 2. Originally, I wanted to paint the base black. I asked my husband to pick me up some black spray paint and he picked up the Oil Rubbed Bronze instead. The return policy is so lame out here and I didn't want to deal with the employees at ACE so I sucked it up and used it. At first it was very VERY brownish. I was so turned off and bummed. I really wanted a stark black. After I looked at it for a couple days it grew on me and the brownish effect disappeared. Especially when I painted the design on it, it really started to look more blackish. So after overcoming those two issues I was very happy with the way it turned out.
One thing I love about the ORB spray paint is that it feels textured which helped the craft paint grip well. So I actually didn't put a protective coat on it. At least not until I find a really good one. The selection of great products out here sucks! So for now the craft paint is set. If I find a good sealant, I'll use it. Hope you like it as much as I do and thanks for stopping by! Love to hear your comments, please leave one below.
-Debora